Yes, you can polish concrete after removing carpet - and it is one of our most common jobs in Auckland. Most homes built on concrete slabs have a perfectly good floor hiding under that old carpet. With the right preparation and grinding process, that rough slab can become a beautiful, low-maintenance polished concrete floor.

What to Expect Under Old Carpet
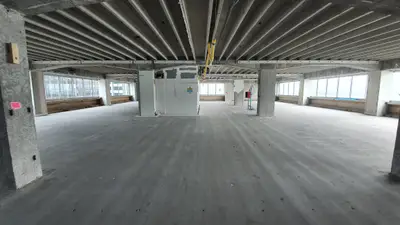
Pulling up carpet is exciting until you see the state of the concrete underneath. The good news is that almost everything you find is fixable. Here is what we see on most Auckland carpet removal jobs.
Adhesive residue. Carpet is often glued directly to the slab, especially in older homes. This leaves behind a layer of dried adhesive that looks terrible but does grind off. Important to know - glue cannot be removed with a light grind. It smears and burns at shallow depths. A heavier cut is needed to remove it properly, which is one reason carpet removal jobs typically require a deeper grind than you might expect.
Tack strip holes. Every carpet installation uses tack strips around the perimeter of each room. These wooden strips are nailed into the concrete roughly every 30cm, leaving a ring of small holes around the edges of the floor. We fill these with a colour-matched resin before grinding.
Levelling compound patches. Builders sometimes apply a thin layer of levelling compound to flatten uneven areas before laying carpet. These patches appear as grey or white smears across the slab. Most levelling compound grinds off cleanly, though thicker applications need more passes.
Paint stains and drips. Years of living in a home means paint spills, DIY projects, and general wear. These surface stains disappear during the grinding process because we are cutting below the surface layer of the concrete.
Old tile adhesive. If tiles were laid before the carpet went down, you may find adhesive residue or even remnants of the old tile bed. This is more work to remove than carpet adhesive, but it does not prevent polishing.
The key takeaway is that nearly every slab condition we encounter under carpet is treatable. We have polished hundreds of post-carpet floors across Auckland and rarely turn a job away based on what we find underneath.
How Diamond Shine Concrete Prepares a Post-Carpet Slab
Our preparation process is what separates a good result from a poor one. Skipping steps leads to visible imperfections in the finished floor, so we follow a consistent sequence on every job.
Step 1 - Remove residue and contaminants. We start by mechanically removing all adhesive, levelling compound, and surface contamination. This is done with coarse diamond tooling before the actual polishing process begins.
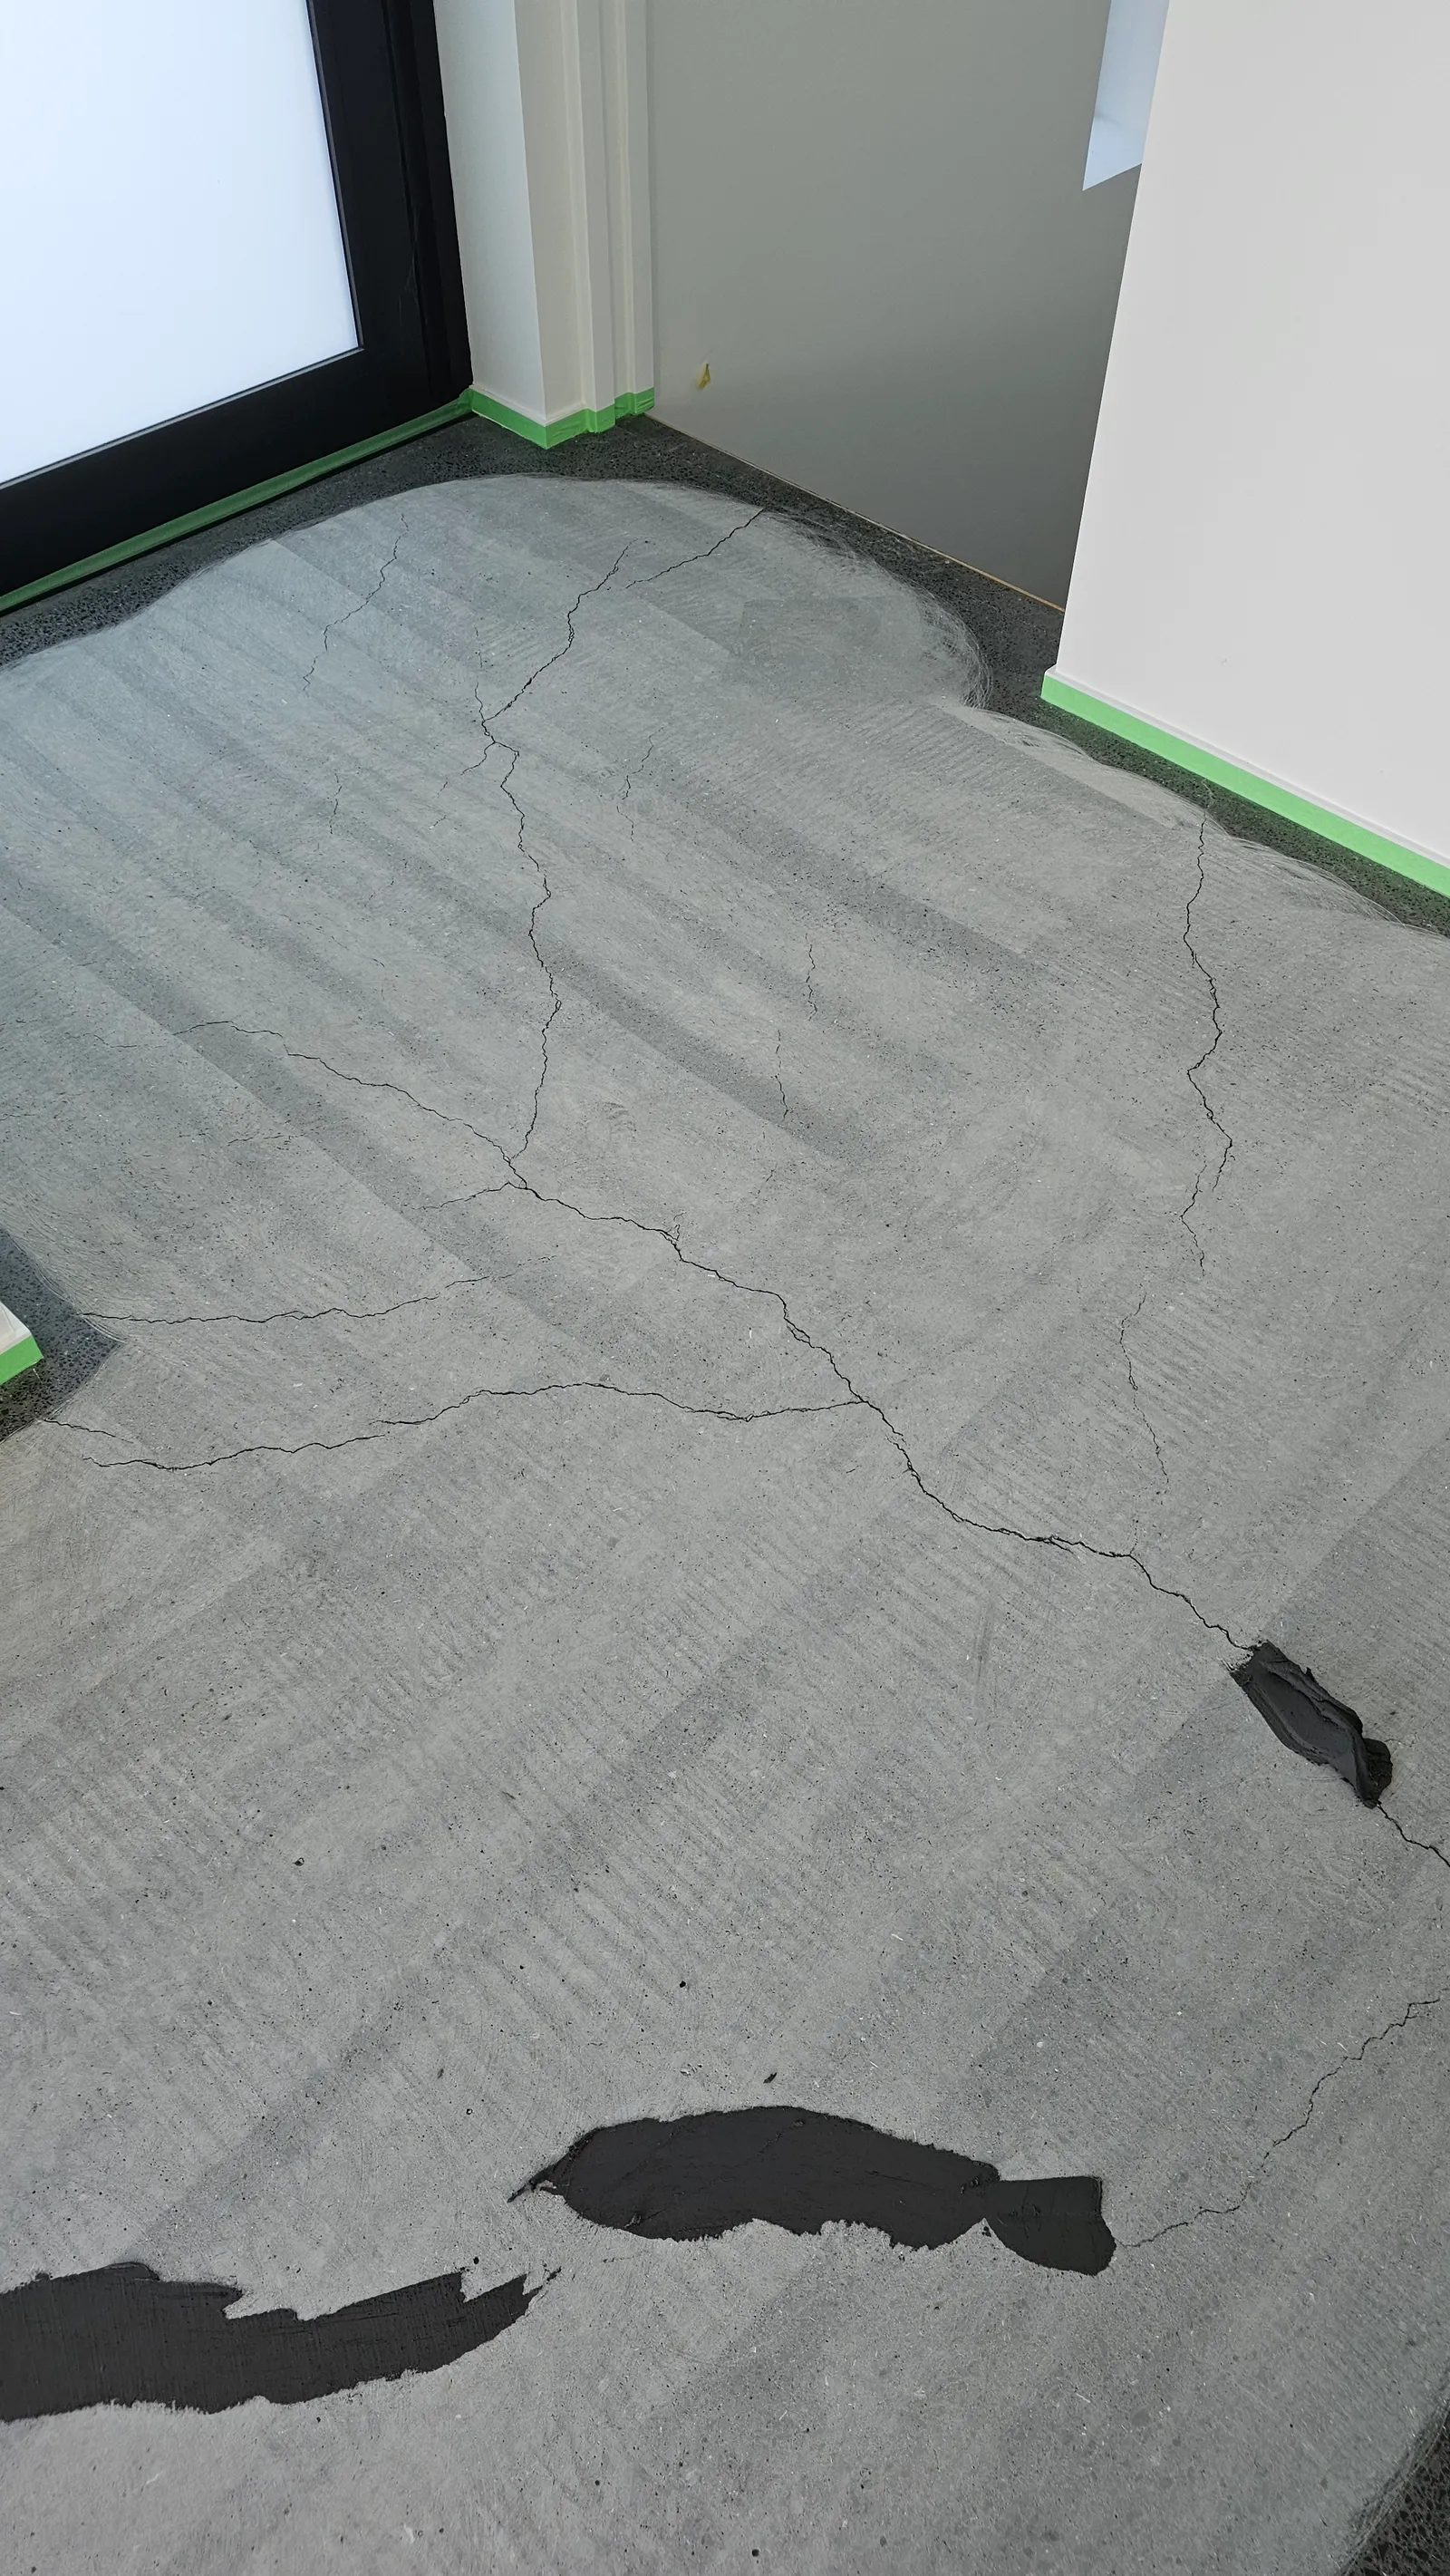
Step 2 - Fill tack strip holes and cracks. Every nail hole, crack, and chip is filled with a two-part resin that bonds securely to the concrete. We colour-match the filler to the slab so repairs blend in rather than standing out.
Step 3 - Grind through the surface layer. The first grinding passes cut through the top few millimetres of concrete to reach clean, undamaged material. This is where adhesive stains, paint marks, and surface blemishes disappear.
Step 4 - Assess the aggregate. Once the surface layer is removed, we can see the aggregate (the stones mixed into the concrete). This is where we discuss finish options with you - how much stone exposure you want and what the slab can realistically deliver.
Step 5 - Progressive polishing. We work through increasingly fine diamond grits, hardening the surface with a densifier along the way. The final passes bring out the shine and seal the surface.
Setting Realistic Expectations
Not every post-carpet slab will produce a showroom floor, and being honest about this upfront saves disappointment later. Here is what affects the final result.
Slab age matters. Older Auckland homes (pre-1990) often have slabs with inconsistent aggregate distribution. The stones may be unevenly spread or concentrated in patches. This creates a natural, character-rich look rather than the uniform exposure you see on new builds.

A heavier grind is usually required. This is the biggest surprise for most homeowners. On older slabs, a light grind (sometimes called salt and pepper) is rarely the right approach. Most carpet removal jobs end up needing a medium to heavy grind. There are several reasons for this:
- Older concrete is often not flat. Years of settlement, moisture movement, and the original pour quality mean the surface is uneven. A heavier grind levels the floor and produces a more consistent result.
- It blends imperfections. Cracks, patches, and colour variations in the concrete become less visible when you grind deeper into the aggregate. The stone exposure creates a natural pattern that disguises these marks.
- Tack strip damage runs deep. Carpet tack strips leave rows of nail holes 3-4mm into the concrete around every room. A heavier grind takes the surrounding surface down to where these holes become much less noticeable - they blend into the stone exposure rather than standing out against a smooth grey surface.
- Glue needs a heavy cut. As mentioned above, carpet adhesive smears and burns with light grinding. A heavier pass cuts cleanly through it.
The reality is that most renovation jobs end up with a medium to heavy grind depending on what we find once we start. True salt and pepper (the very lightest grind with minimal stone exposure) is achievable mainly on newer, flat slabs in good condition - not the typical 20 or 30-year-old slab hiding under carpet.
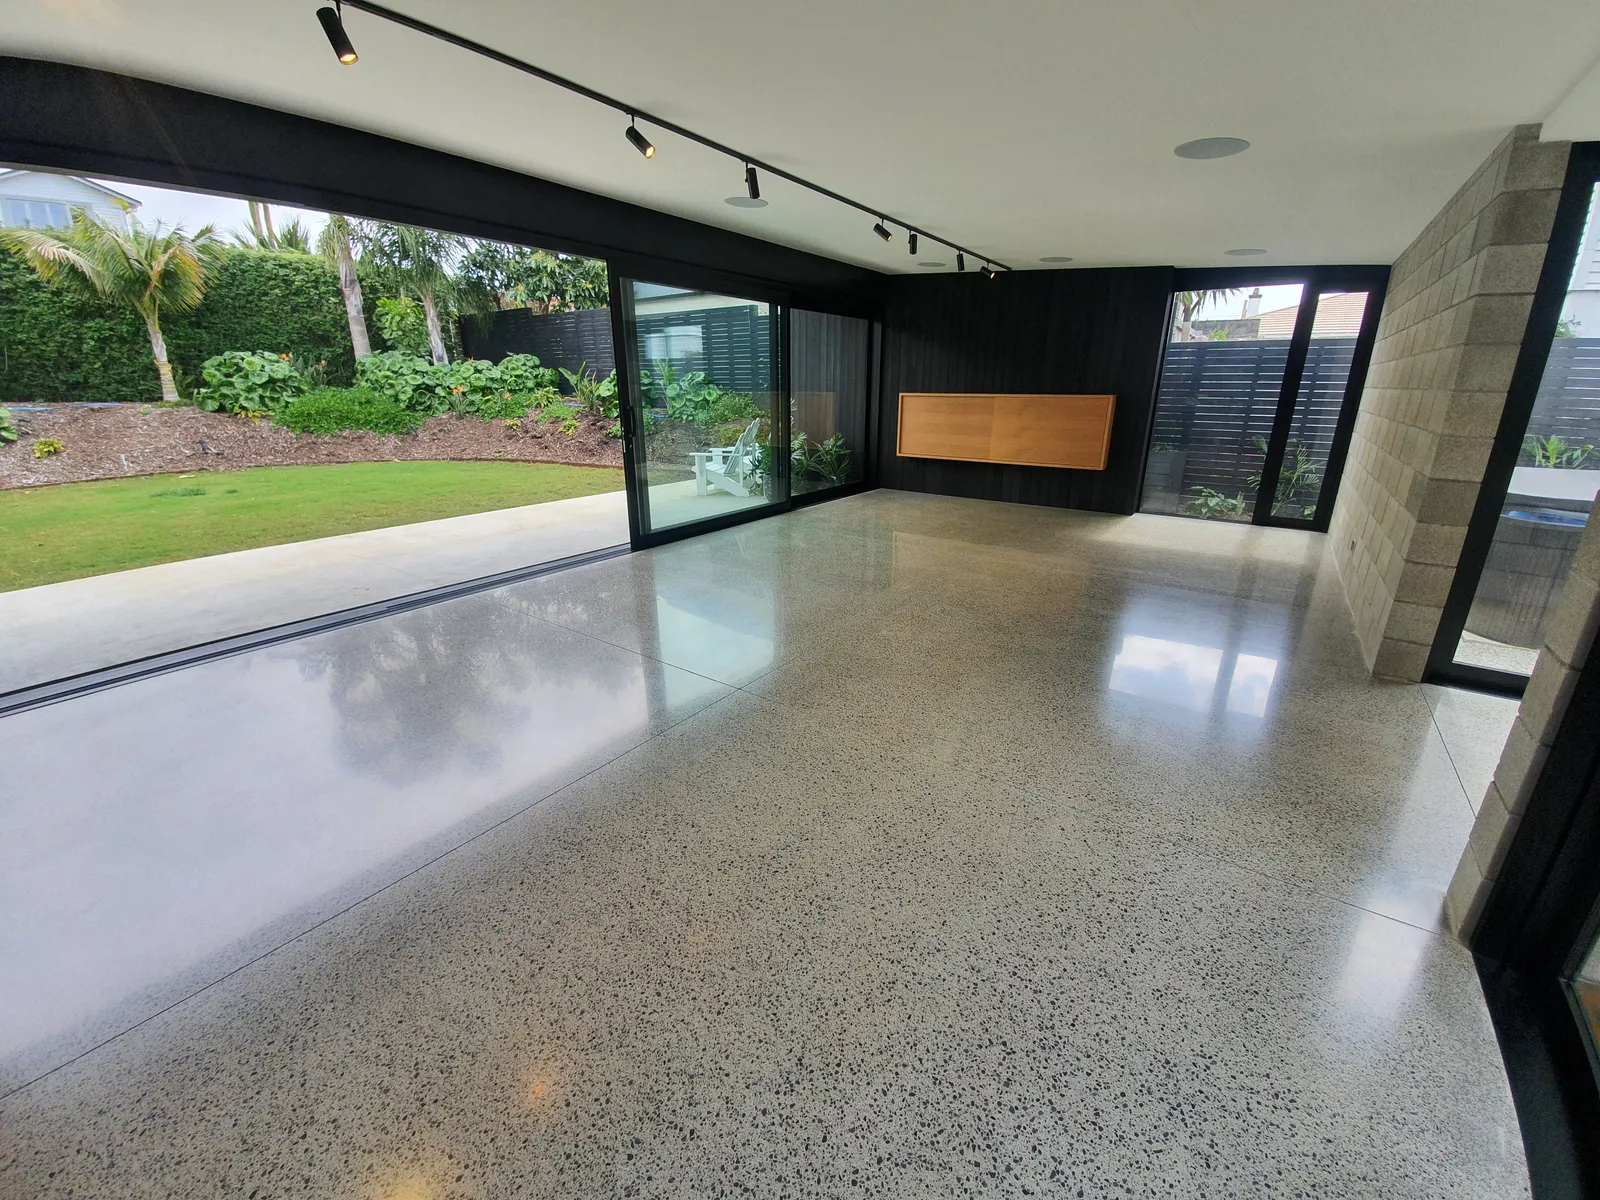
The good news - heavier grinds look fantastic. More stone exposure gives the floor natural character, warmth, and visual depth. Old slabs can be patchy in areas, but most are fairly consistent once you get past the surface layer. Some of our best-looking floors have come from older Auckland homes where the aged aggregate creates a look that new concrete simply cannot replicate.
Repairs will be visible up close. Filled tack strip holes and crack repairs blend well from standing height, but you will see them if you get down on your hands and knees. This is normal and expected - it is part of the character of an existing slab versus a purpose-poured new floor.
Slab Condition vs Recommended Finish
For a detailed cost breakdown including minimum charges and area-based pricing, read our full polished concrete cost guide.
Timing: Do It Before You Choose New Flooring
One tip we always share with renovators - if you are even considering polished concrete, get the slab assessed before committing to new carpet, tiles, or timber. Here is why.
Once new flooring goes down, you are locked in for another 10 to 15 years. If you polish the concrete now, you skip the cost of buying and installing another floor covering on top of a perfectly good slab. The concrete is already there. You are just finishing it.
Getting a quote is free and takes about 15 minutes. We look at the slab, assess the condition, and tell you exactly what result to expect - before you spend money on alternatives.
Should You Remove the Carpet Yourself?
You can, and many homeowners do. Pulling up carpet is straightforward - cut it into manageable strips with a utility knife, roll them up, and take them to the tip. The underlay peels up the same way.
You can also pull up the tack strips yourself if you are keen. They are nailed into the concrete around the perimeter of each room - a flat bar or pry tool works well. The nail holes are inevitable either way and will be filled during our preparation process, so there is no risk of making things worse by removing them yourself. Honestly, if you are happy to do it, we appreciate it - it saves us time on site and means we can get straight into the grinding.
If you prefer not to deal with any of it, we handle the full removal from carpet to tack strips as part of the job. Just let us know when you book.
Frequently Asked Questions
How much does it cost to polish concrete after removing carpet?
Most post-carpet residential jobs in Auckland sit around $90 to $120 per m2 + GST, depending on the condition of the slab and how much preparation is needed. Small areas under 20m2 have a minimum charge of $2,250 + GST. For a typical 50 to 70m2 living area, expect roughly $5,000 to $8,000 + GST. See our full pricing guide for detailed breakdowns.
Should I remove the carpet myself before you come?
You can pull up the carpet, underlay, and even the tack strips yourself to save time on the job. The tack strip nail holes are inevitable either way and will be filled during our prep process, so there is no harm in pulling them out. If you would rather not deal with it, we handle the full removal.
What if there is levelling compound under the carpet?
Levelling compound is common and not a problem. We grind through it during the preparation stage. Thicker applications take an extra pass or two, which may add a small amount to the cost, but it does not prevent polishing.
How long does the process take?
A typical residential living area (50 to 70m2) takes 2 to 3 days from start to finish. The first day covers preparation and coarse grinding, the second day is progressive polishing, and the final day is densifying and finishing. You can walk on the floor immediately after completion - no curing time needed.
Can every concrete slab be polished?
Almost every slab can be polished to some degree. The main exception is concrete with severe structural damage - deep cracks, significant heaving, or slabs that have been heavily patched with different concrete mixes. We assess this during our free on-site quote and will be upfront about what is achievable.