Carpet tack strips leave a ring of small nail holes 3-4mm deep running around the perimeter of every room. A medium-to-heavy grinding and polishing process blends these into the exposed aggregate rather than erasing them - filled holes become part of the floor's natural character rather than obvious marks.

Whether you can still get the finish you had in mind depends on how much stone exposure that grind level produces, which is why tack strip damage is one of the first things we look at on any carpet removal job.
| Slab condition | Grind needed | Tack strip outcome |
|---|---|---|
| New or near-new, clean | Light to medium | Holes visible unless grind is deep enough to blend |
| Standard carpet removal | Medium to heavy | Holes filled and blended into aggregate - much less visible from standing height |
| Heavy carpet adhesive present | Medium to heavy (heavier cut for glue) | Holes and glue addressed together in same grind depth |
| Old slab (pre-1990), uneven | Medium to heavy | Heavier grind levels the floor and blends tack damage simultaneously |
What Tack Strip Damage Actually Looks Like
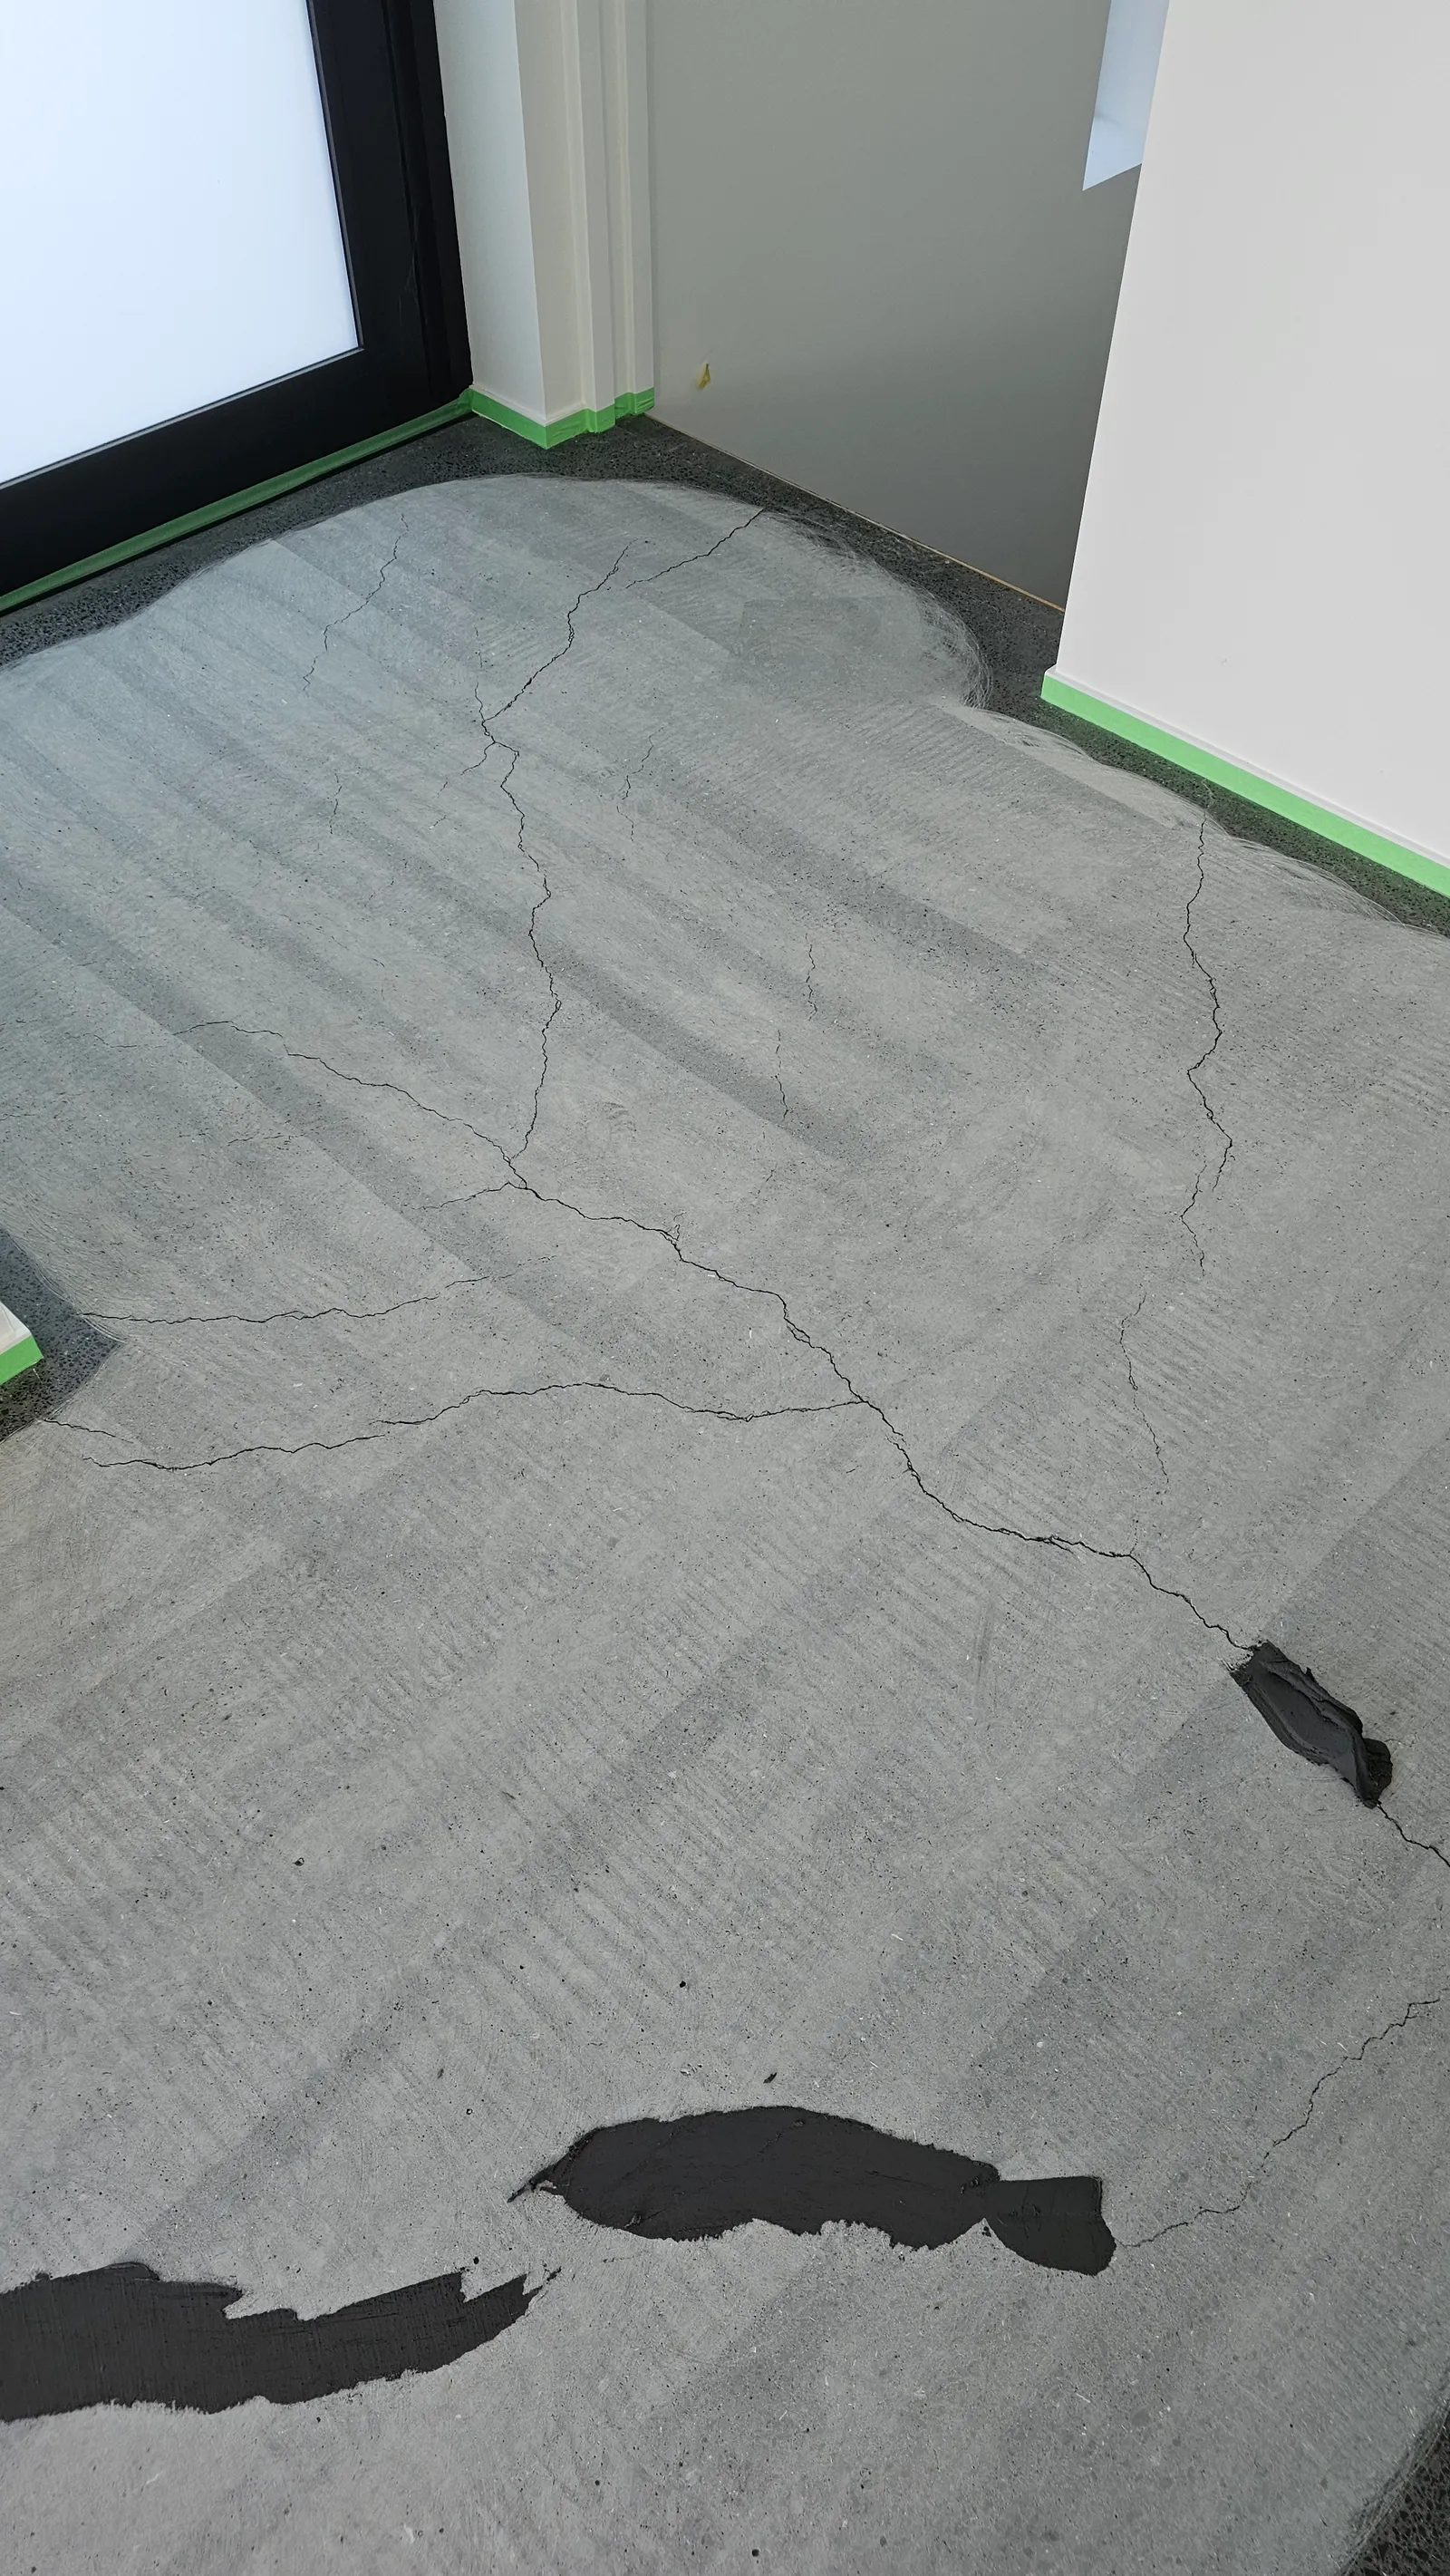
Most homeowners pull up the carpet, look at the slab, and immediately worry about the rows of small holes around every wall. Here is what you are actually dealing with.
The pattern. Tack strips are nailed into the concrete around the perimeter of each room, roughly every 25-30cm. That means a standard 5 x 4 metre bedroom has somewhere between 55 and 72 nail holes running like a dotted line around its edges. Multiply that across several rooms and you end up with a lot of small marks.
The depth. Each nail penetrates roughly 3-4mm into the concrete. That is deeper than surface grime or paint but well within the depth a medium-to-heavy grind will reach.
The colour contrast. On an unground slab, these holes sit against a smooth, light grey surface - which is why they stand out. Once the floor is ground and the aggregate is exposed, the textured stone surface makes filled holes far less obvious from normal standing height.
What the holes are not. They are not structural damage. They do not compromise the slab. They are cosmetic marks that respond predictably to the grinding and polishing process.
Can Tack Strip Damage Be "Fixed"?
This is the most common question we get from renovators, and the honest answer is: blended, yes - erased, no.
What the grinding and polishing process actually does
A medium-to-heavy grind takes the surrounding surface down to a level where the holes become much less noticeable. Two things happen simultaneously.
First, we fill every hole with a colour-matched resin before grinding begins. This bonds securely to the concrete and brings the repair flush with the surface.
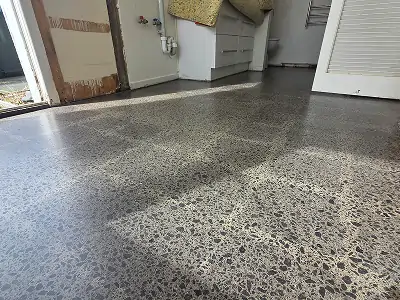
Second, the grind exposes the aggregate in the concrete. Once you have a textured stone surface, the eye is drawn to the pattern of the aggregate rather than any individual repair. Filled holes blend into that visual texture in a way they simply cannot against a smooth grey background.
The result from normal standing height - and from any practical viewing distance - is a floor where the tack strip history has receded into the character of the slab. Get down close and you will likely find the repairs if you look for them. That is normal, and it is worth knowing upfront.
Why This Usually Rules Out a True Salt and Pepper Finish
Salt and pepper is a light grind - the lightest level that actually removes material from the slab. Only the very tops of the aggregate stones are exposed, and the cement paste remains the dominant surface. Against that fine, relatively smooth background, filled tack strip holes are more likely to show.
To blend tack strip damage properly, you need more stone exposure. More stone exposure means a deeper grind. A deeper grind means moving up from salt and pepper toward a standard medium grind or heavier.
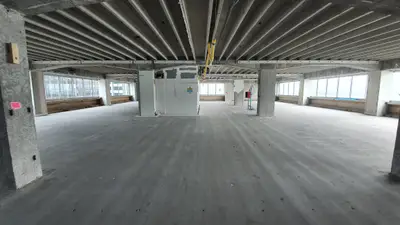
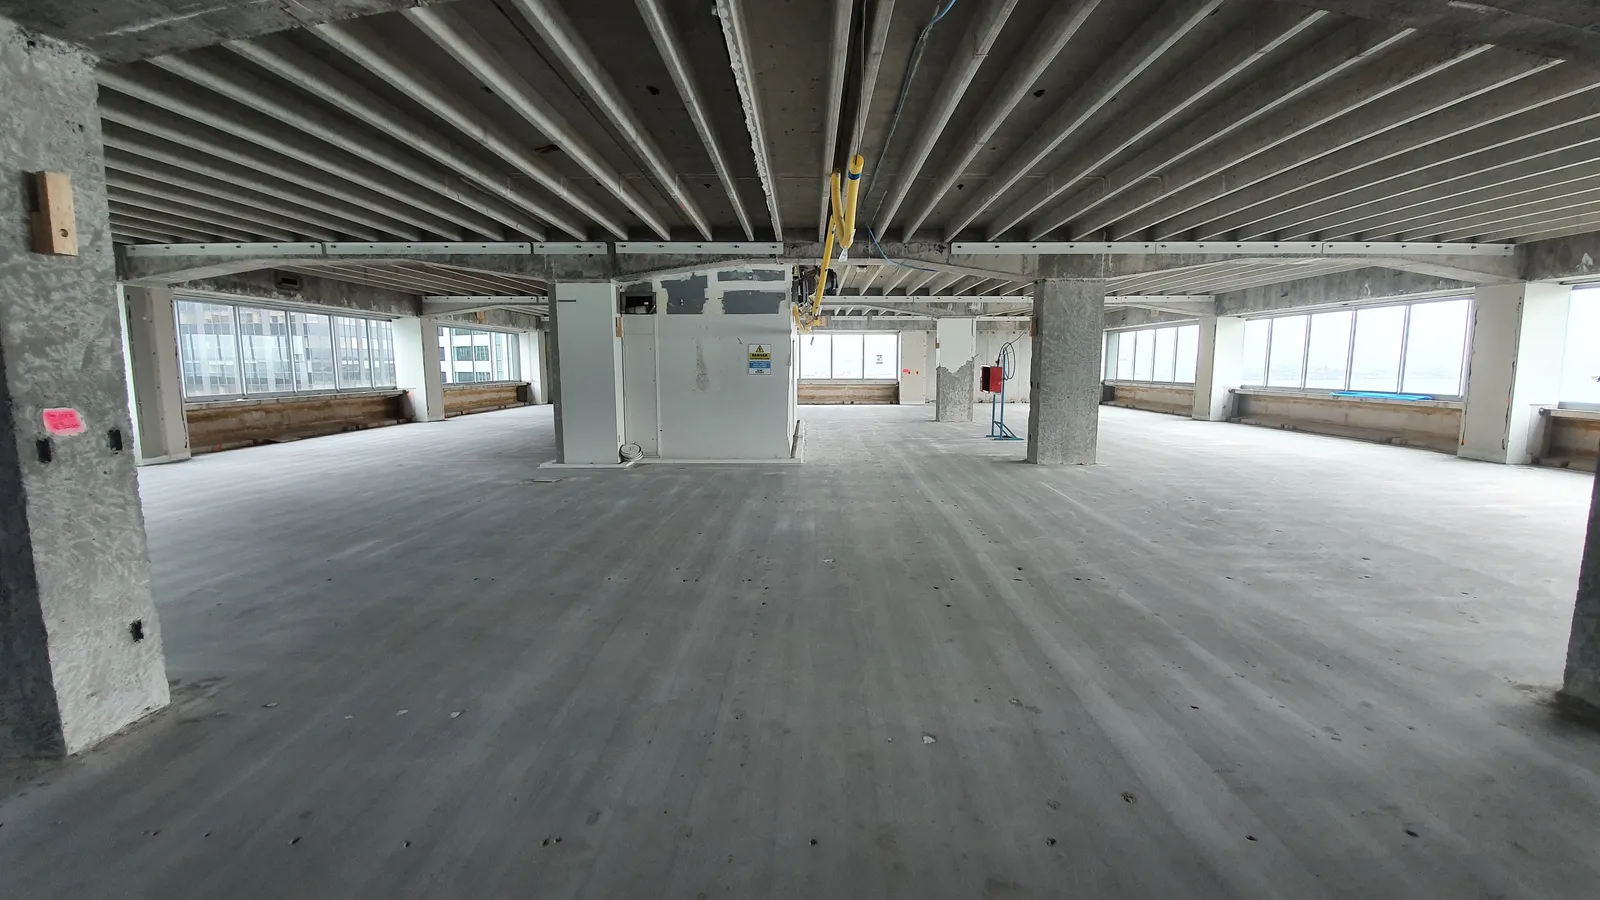
This is not unique to tack strip damage. It is the same reason most carpet removal jobs across Auckland end up with a medium-to-heavy grind rather than the light finish some homeowners first imagine. True salt and pepper - the look you see on newer, flat slabs poured specifically for polishing - is rarely achievable on a slab that has been under carpet for ten or fifteen years.
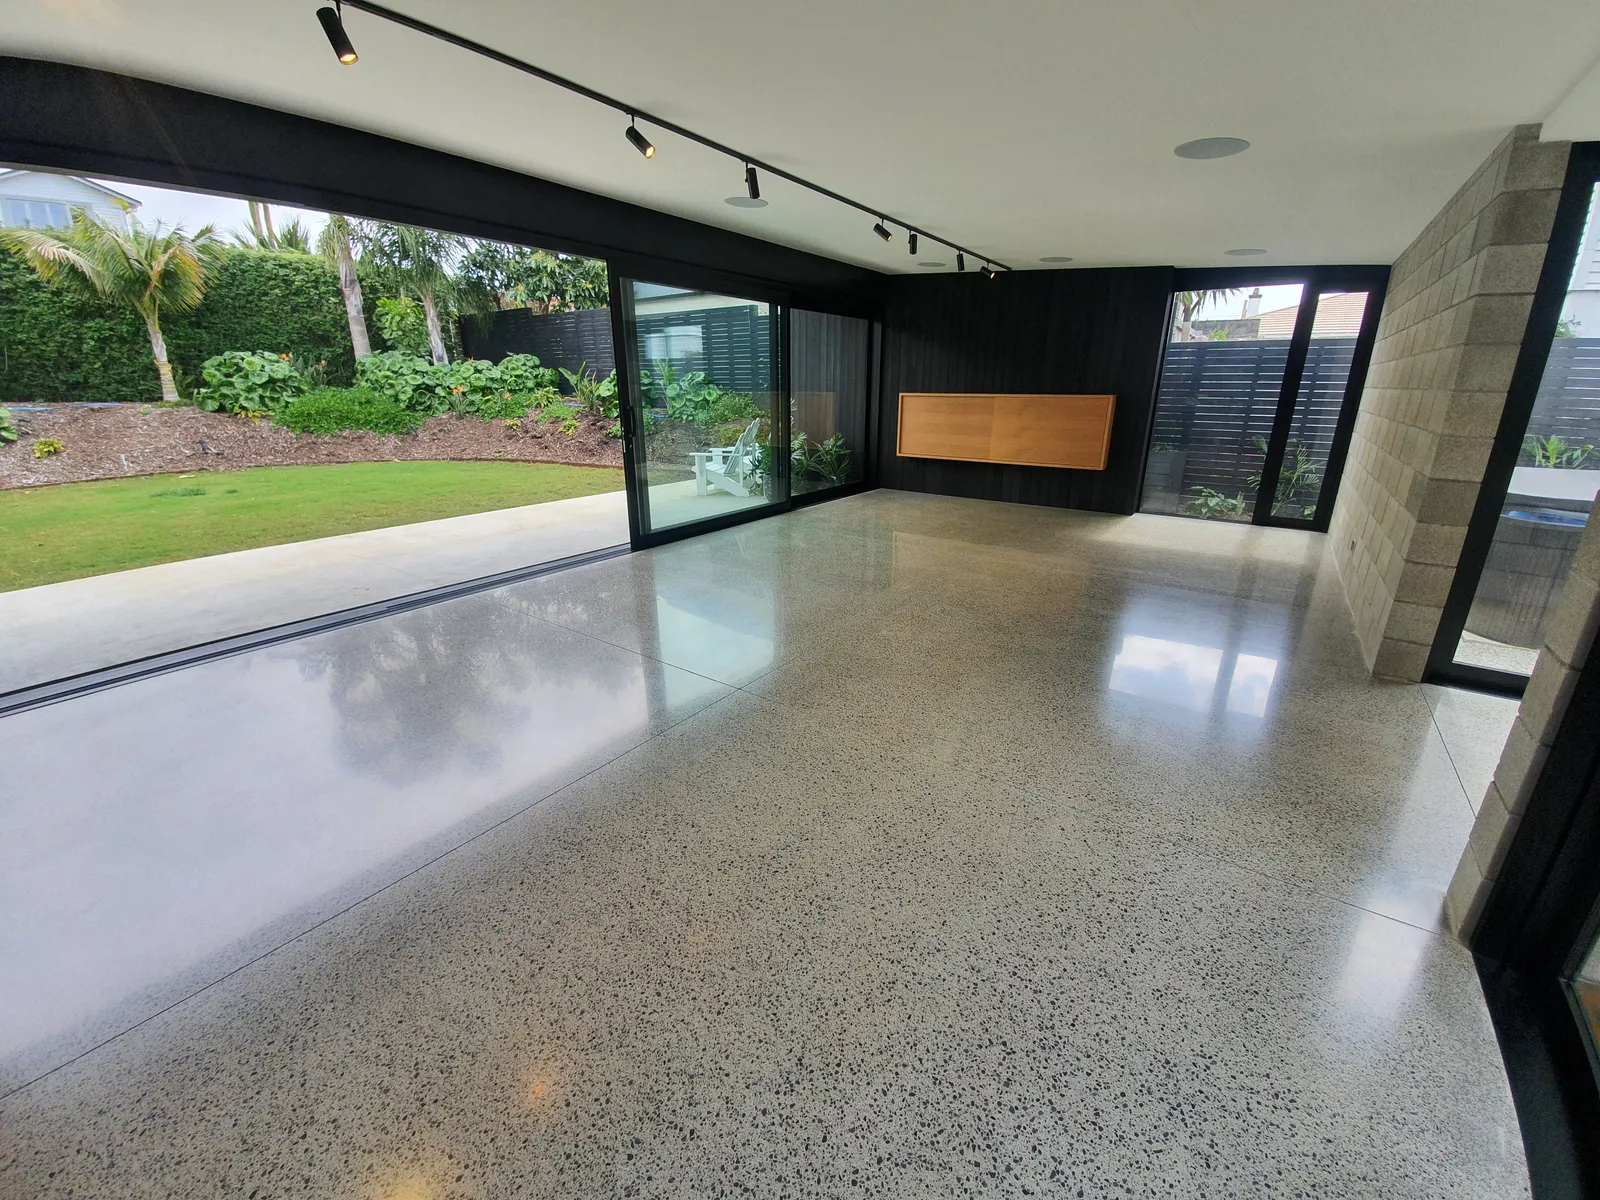
The good news is that more stone exposure produces genuinely beautiful floors. The aggregate in an older Auckland slab has a warmth and character that a new pour cannot replicate. Some of the best results we achieve come from exactly these jobs.
The Glue Question
Tack strip holes are almost always accompanied by carpet adhesive on the body of the slab. These two things interact with the grinding process in different ways, and both reinforce the case for a deeper cut.
Glue cannot be removed with a light grind. Run a machine with fine tooling across dried adhesive and it smears, heats up, and burns - leaving a worse surface than you started with. A heavier cut goes through the adhesive layer cleanly, removing it as part of the normal grinding pass rather than fighting it.
The practical consequence is that the grind depth needed to remove adhesive and the grind depth needed to blend tack strip holes are pulling in the same direction. Both push the job toward a medium-to-heavy grind. On a typical carpet removal job these are not competing considerations - they are aligned.
For advice on what to expect across the full carpet removal process, read our guide: Can You Polish Concrete After Carpet Has Been Removed?
What You Can Do Before We Arrive
One of the most useful things a homeowner can do is pull up the tack strips themselves before the job.
The strips themselves are thin wooden lengths nailed along the edges of each room. A flat bar or pry tool lifts them easily. A few minutes per room and they are gone. The nail holes are inevitable either way - there is no way to remove the strips without leaving them - but pulling the strips yourself means we arrive at a clear slab rather than spending time on strip removal. That is time we can put toward the grind itself.
Some homeowners pull up the carpet and underlay but leave the strips. Others do the full lot. Either is fine - just let us know when you book and we will adjust the job scope accordingly.
A word on the nail holes: do not attempt to fill them yourself before we arrive. DIY filler rarely bonds well to concrete and often needs to be ground back out. We use a two-part resin that bonds to concrete properly and can be colour-matched to the slab. Let us handle that step.
How We Approach a Tack Strip Job
Our grinding and polishing service follows the same sequence on every carpet removal job, with the depth and number of passes adjusted based on what we find.
Step 1 - Assessment. We look at the whole slab: tack strip hole pattern, adhesive type and coverage, flatness, and any other damage. This tells us what grind level to start with and where additional passes are likely needed.
Step 2 - Fill holes and cracks. Before any grinding begins, every nail hole, crack, and surface defect is filled with colour-matched resin. We let this cure before the first grind pass.
Step 3 - Coarse grind. The first passes use coarse diamond tooling to remove adhesive, cut through the surface layer, and take the surrounding floor down to the depth needed to blend the repairs. This is where the character of the slab starts to emerge.
Step 4 - Assess the aggregate. Once the coarse work is done, we stop and look at what the slab is showing. Is the aggregate distribution consistent? Are there areas that need another pass? This is also when we confirm the finish level with you based on what is actually achievable on this particular floor.
Step 5 - Progressive polishing. We work through increasingly fine diamond grits, applying a hardening densifier partway through the sequence. Each pass refines the surface until we reach the agreed finish level.
Step 6 - Final seal. We apply a penetrating sealer that soaks into the concrete rather than sitting on top of it. This protects the floor without forming a coating that can peel or scratch.
The result is a mechanically polished concrete floor that, with good maintenance, will last 20+ years.
What About Finish Options After a Medium-to-Heavy Grind?
A medium-to-heavy grind does not lock you into one specific look - it determines the aggregate exposure level, not the sheen. Sheen is set separately by how far through the polishing grits we take the floor.
On a carpet removal job with a medium-to-heavy grind, you can achieve anything from a satin finish (around 200 grit) to a semi-gloss (around 400 grit) or even higher gloss if the slab supports it. Satin to semi-gloss is the range most homeowners land on - enough reflectivity to show off the stone without turning the floor into a mirror.
For a full breakdown of finish levels and what affects the final look, read our salt and pepper finish guide.
Frequently Asked Questions
Q: Will the tack strip holes be visible once the floor is done?
Filled holes blended into aggregate are typically not visible from normal standing height. Up close, especially in raking light, you may find them. This is honest and expected on any existing slab - the repairs become part of the floor's natural character rather than flaws that stand out.
Q: Can I get a salt and pepper finish if my slab has tack strip damage?
Usually no. Salt and pepper is a light grind where the cement paste is still the dominant surface. Tack strip holes sit 3-4mm deep and need more stone exposure to blend, which means a deeper grind than salt and pepper provides. Most carpet removal jobs end up at a medium-to-heavy grind level. We always assess on site before committing to a finish level.
Q: Should I pull up the tack strips myself or leave them?
Pulling them yourself saves time on site. Use a flat bar or pry tool to lift each strip. The nail holes are unavoidable either way and will be filled by us during the preparation process - you cannot make them worse by pulling the strips out. If you would rather not deal with it, we handle full removal including tack strips as part of the job.
Q: How much does it cost to polish concrete after carpet removal in Auckland?
Carpet removal and renovation jobs typically sit at $90-$120 per m2 + GST depending on the condition of the slab and how much preparation work is needed. Areas under 20m2 have a minimum charge of $2,250 + GST. For a 50-70m2 living area that puts the total in the range of $4,500 to $8,400 + GST. For a full cost breakdown see our polished concrete cost guide.
Q: How does the grind level affect the price?
Heavier grinds take more time and use more tooling, so they sit toward the higher end of the per-m2 range. However, on carpet removal jobs a heavier grind is usually the right approach regardless - it does more work simultaneously (removes adhesive, levels the floor, blends tack damage) and produces a better result. The cost difference between a light and medium-to-heavy grind on a standard job is not large, and the outcome difference is significant.
Q: How long does the process take?
A typical residential living area of 50-70m2 takes 2 to 3 days from start to finish. First day covers preparation and coarse grinding, second day progressive polishing, and the final day densifying and finishing. You can walk on the floor immediately after completion.